Start a blank worksheet as outlined in the previous lesson in a second window of your browser. If you are in doubt, you may want to click here to look at this part of the lesson and follow through steps 1 to 5 to get a blank worksheet.
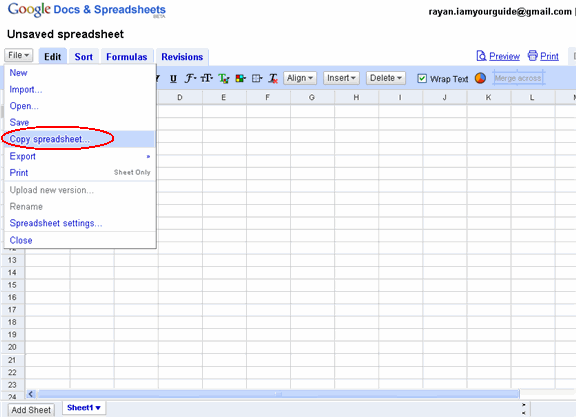
Once you have a blank unsaved spreadsheet, the first thing to do is to save it under a name that is relevant to the purpose. To do this click on the File menu as shown below, and click on Copy spreadsheet.
Then an Explorer User Prompt (dialog box) comes up, prompting us to save the file in our chosen name. Let us say we save this file under the name Product Inventory.
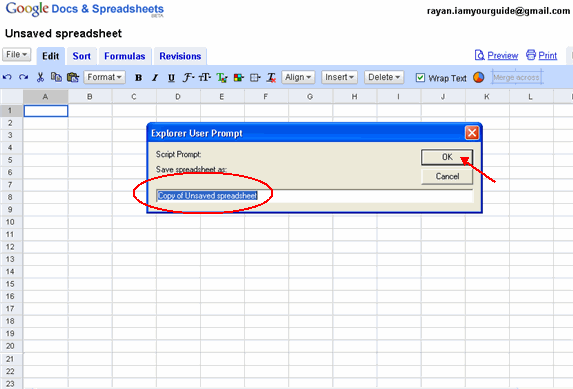
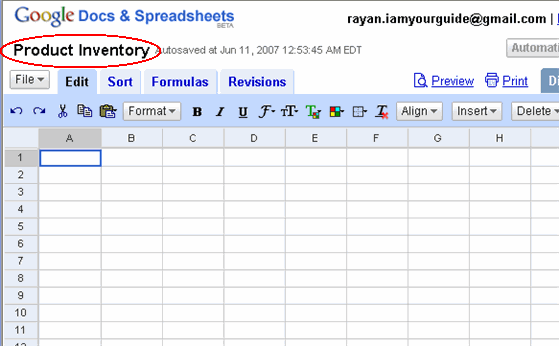
Type in Product Inventory in the highlighted “Copy of Unsaved spreadsheet” area and click on OK. Now the file is saved under this name Product Inventory as shown below and we are ready to make our skeleton spreadsheet.
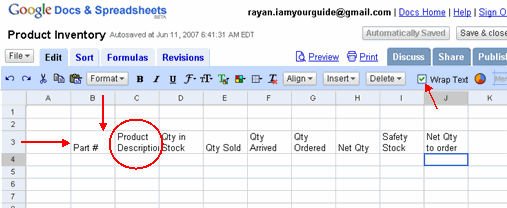
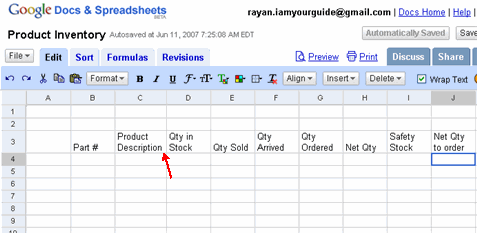
Click on cell B3, the box at the intersection of Column B and Row3 and type “Part #”, and in cell C3 type “Product Description”, in cell D3 type “Qty in Stock” and so on upto cell J3 as shown below.
At this point please note that, the Wrap Text feature in the tool bar is turned on, to fold the text we type in any cell neatly. This will accommodate the cell contents with in the cell dimensions. Even so the last letter ‘n’ in the Product Description in cell C3 seems to have been lost. So to make it visible we can increase the width of cell C3 by placing mouse pointer on the line separating column C and D until it turns into a double headed pointer as shown below.
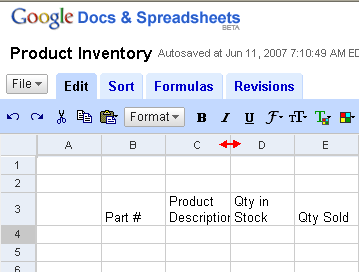
Then left click on the mouse, hold it and drag it towards right until the letter ‘n’ becomes visible. Now the column headings are visible and skeleton spreadsheet is ready to fill in our data.
<--BackTo: Outline the purpose
